
はじめに
VClusterは、OpenText Analytics Database(OTAD)におけるデータベースの作成、ノード管理、および起動・停止制御の機能を提供するWebベースのクラスタ管理ツールです。
VClusterを利用するためには、自己署名証明書を作成し、使用するクライアント(ブラウザ)にクライアント証明書をインポートする必要があります。
本記事では、自己署名証明書の作成からクライアント証明書のインポート手順、VCluster接続までの流れを解説しています。
※本記事は、以下の環境における実行例となります
・クライアント:Webブラウザ(Google Chrome)
・サーバ:VClusterサーバ
・ターゲット:3ノード構成のOTAD
VCluster向け自己署名証明書の作成
OTADを導入するノード#1にdbadminユーザーでログインし、以下のコマンドを実行します。
$ vcluster_server --init
実行例
$ vcluster_server --init
Welcome to vcluster server setup.
This tool will help you to initialize the server settings and generate the server certificates.
Please choose your operations:
1. Re-initialize intermediate CA, the server certificates and client certificates(including admin certificate).
2. Re-initialize the admin certificate.
3. Re-initialize the server certificate.
4. Exit.
Please input the number of your choice:
1
Please input server domains, such as 'vcluster.com', separated by comma:
[ドメイン名]
Please input server ip addresses, separated by comma:
[各ノードのPrivate IP(複数ノードの場合はカンマ区切り)]
Enter organization name:
[組織名]
Enter admin password:
任意のパスワード
Please confirm that you wish to re-initialize the settings.
 Warning: All issued certificates may become invalid after this operation! (y/n)
y
Re-initializing all certificates settings...
Server domain: verty03.local
Server ip: 172.16.60.27
Organization name: Ashisuto
Please remove all existing client certs and re-install admin cert before accessing vcluster server.
Bootstrap operation is completed. Please restart the vcluster server.
Node Management AgentとVCluster Serverの起動
クラスタを構成する全ノードにてdbadminユーザでログインし、Node Management Agentを起動します。
$ /opt/vertica/bin/manage_node_agent.sh start node_management_agent実行例
$ /opt/vertica/bin/manage_node_agent.sh start node_management_agent
Doing action start
Using binary name node_management_agent
Looking for node_management_agent in /opt/vertica/bin
Verifying no running node management agent process
Starting the node management agent
Started process 482308
dbadminユーザーで、ノード#1にログインし、VCluster Serverを起動します。
$ /opt/vertica/bin/manage_vcluster_server.sh start vcluster_server実行例
$ /opt/vertica/bin/manage_vcluster_server.sh start vcluster_server
Doing action start
Starting vcluster server
Started process 482330
vcluster_server startup verified successfully
クライアント証明書のダウンロード
発行したクライアント証明書を、SCP等を利用してクライアントにダウンロードします。
証明書ファイルは、以下に配置されます。パスワードは証明書作成時に指定した任意のパスワードとなります。
/opt/vertica/config/vcluster_server/admin.p12クライアント証明書のインポート
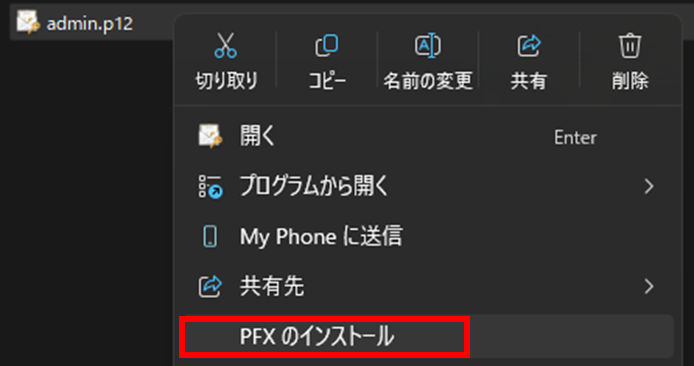
ダウンロードしたクライアント証明書を右クリックで選択し、「PFXのインストール」をクリックします。
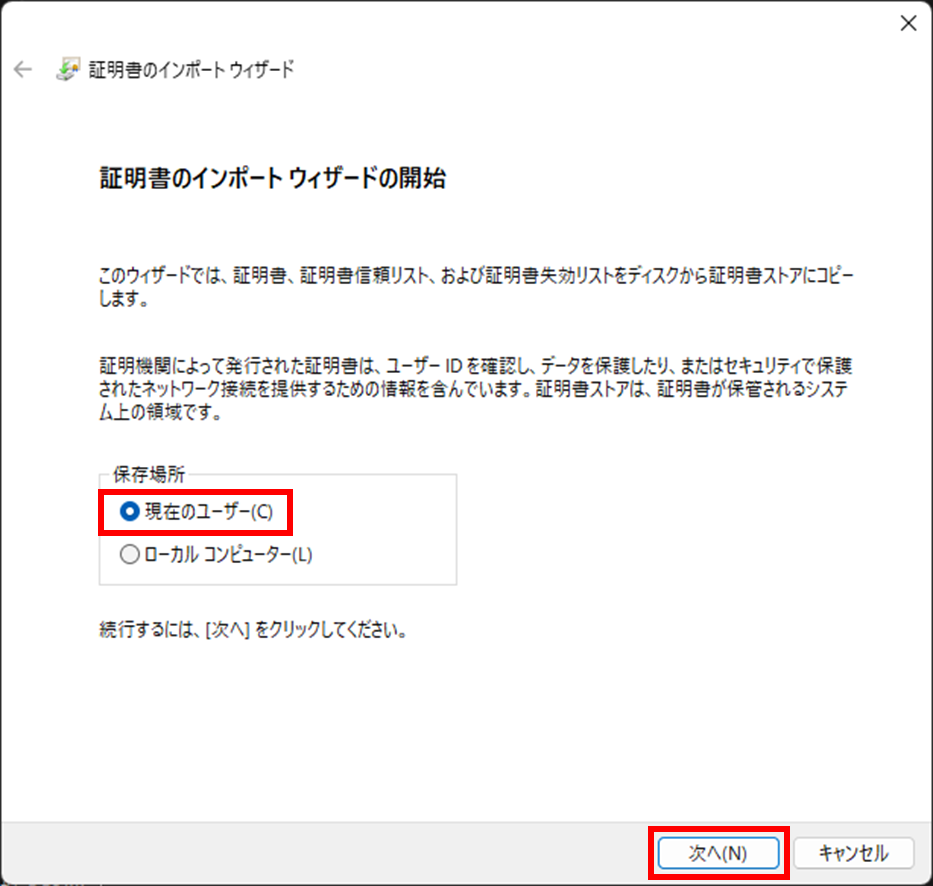
「現在のユーザー(C)」が選択されていること確認し、「次へ」をクリックします。
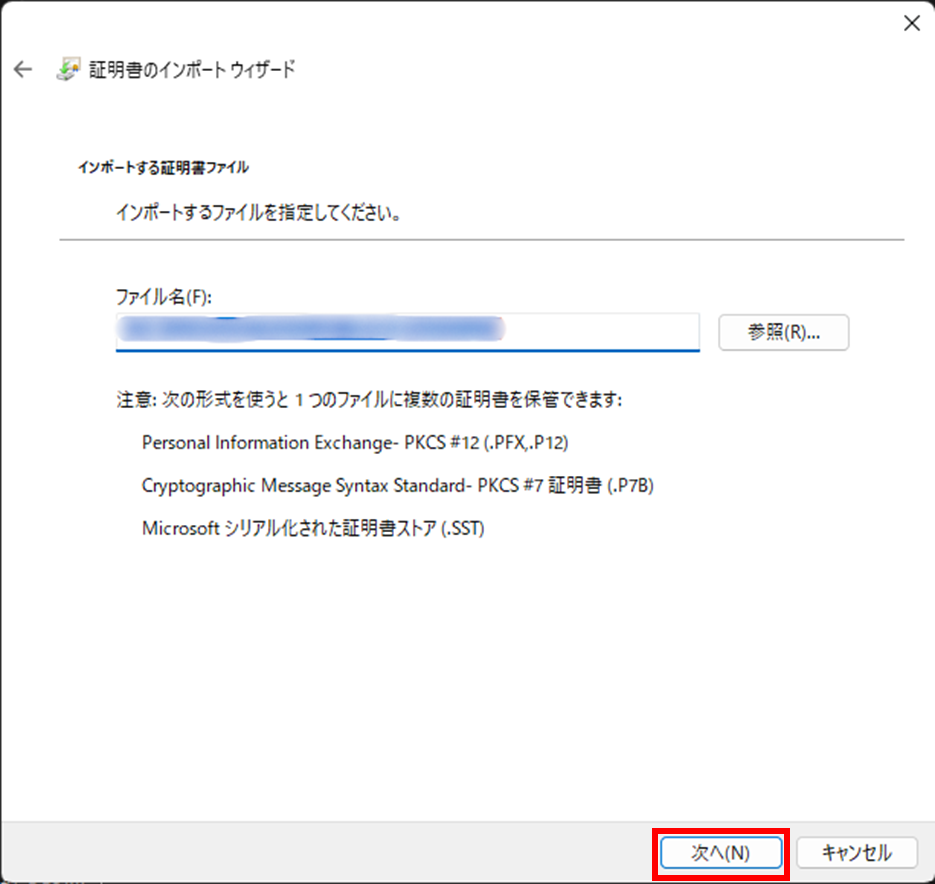
先程ダウンロードした証明書ファイルを指定し、「次へ」をクリックします。
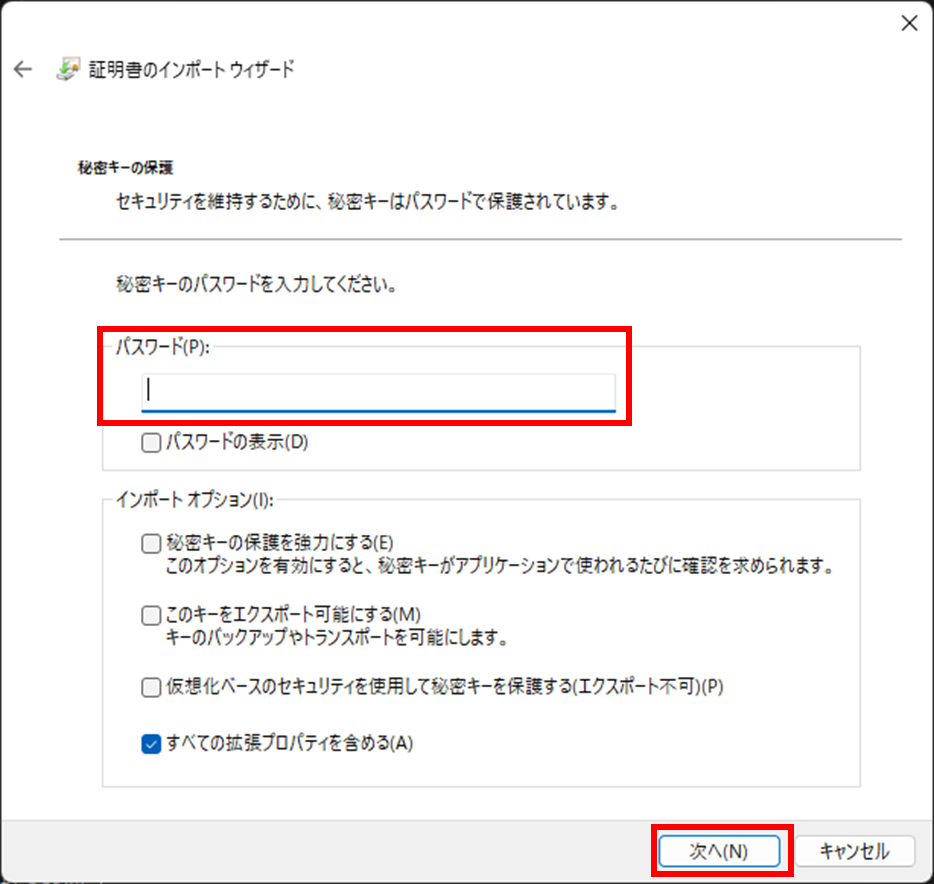
証明書作成時に指定したパスワードを入力し、「次へ」をクリックします。
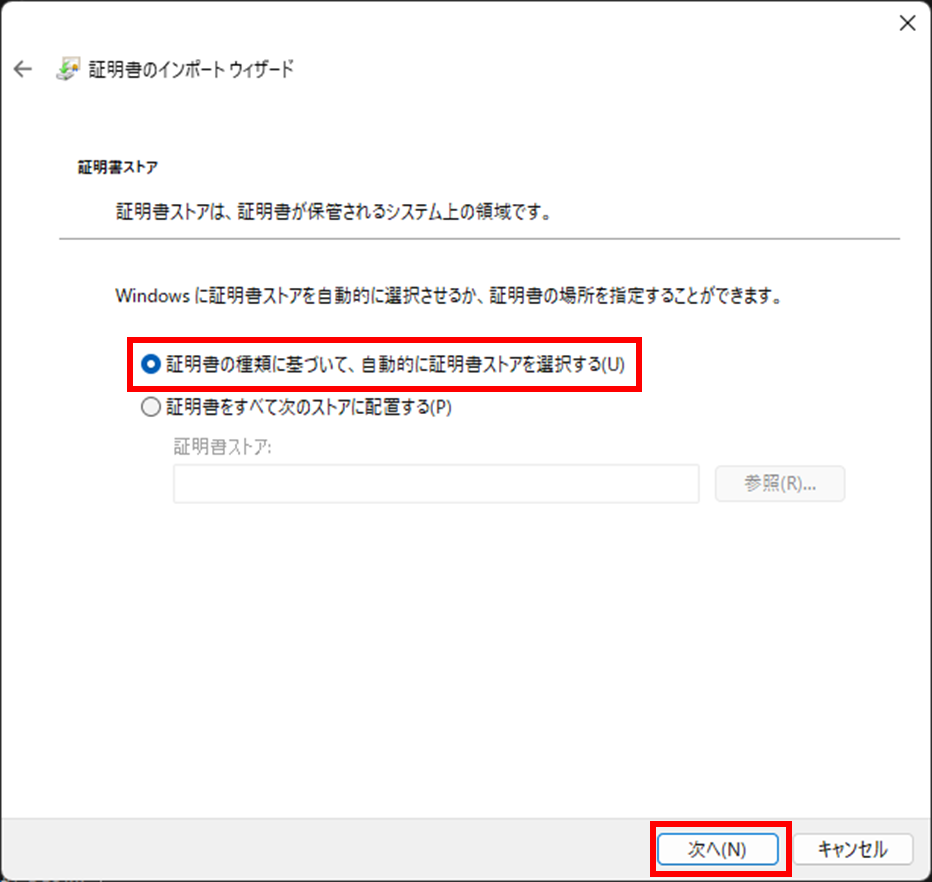
証明書ストアの配置先を指定し、「次へ」をクリックします。
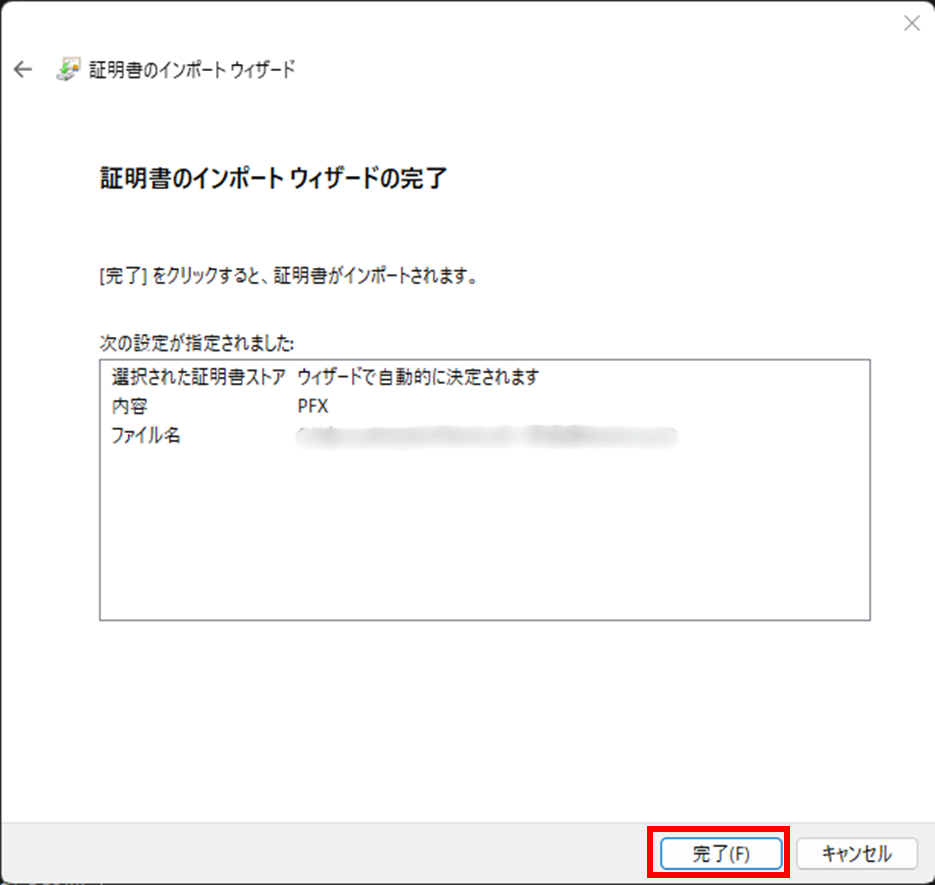
「完了」をクリックし、証明書をインポートします。
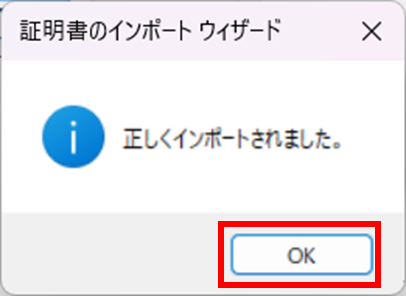
「OK」をクリックし、ウインドウを閉じます。
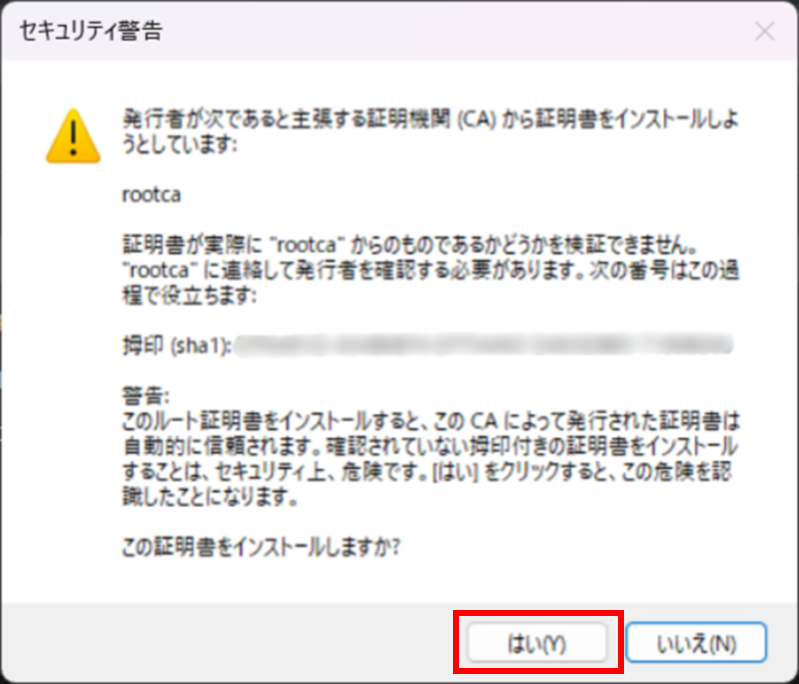
※以下のセキュリティ警告が発生した場合、「はい」をクリックしてインポートを進めてください
VClusterへの接続
ブラウザから、URL「https://[ノード#1のPublic IP]:8665/」に接続します。接続時に要求されるクライアント証明書は事前にインポートした証明書を指定します。
・Google Chromeの例
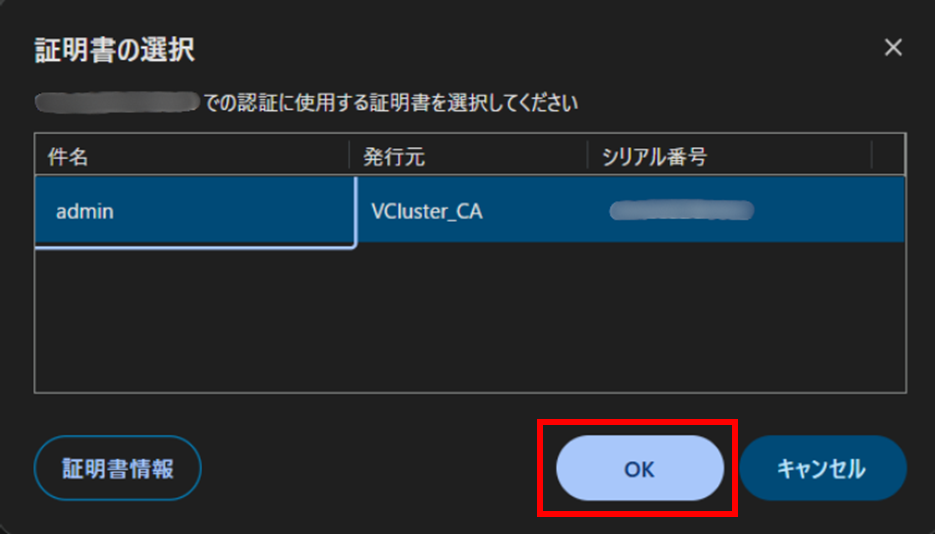
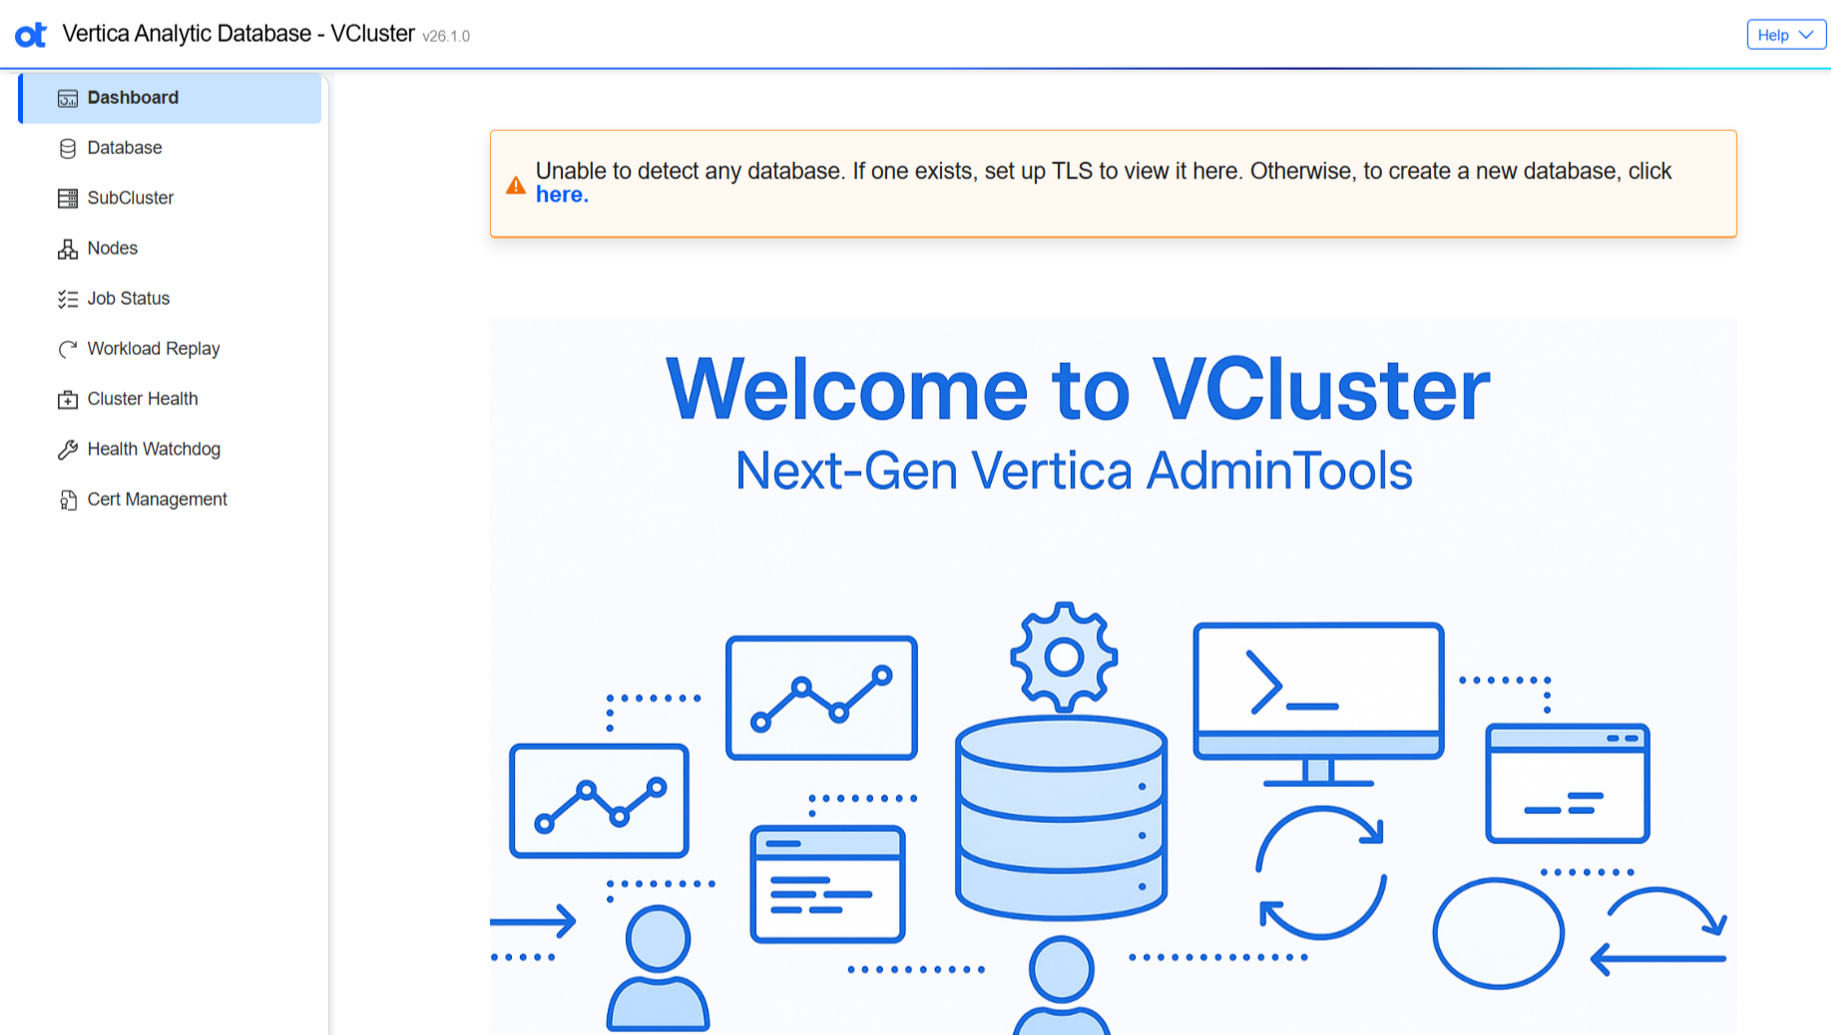
証明書を選択後、以下の画面に遷移することを確認します。
VClusterを利用したデータベースの作成、起動停止方法につきましては、
参考情報に記載の評価環境構築日本語ガイド(26.1)をご参照ください。
参考情報
・OpenText Analytics Database (Vertica) 26.1 評価環境構築日本語ガイド
https://portal.microfocus.com/s/article/KM000045285?language=en_US
更新履歴
2026/04/08 本記事を公開